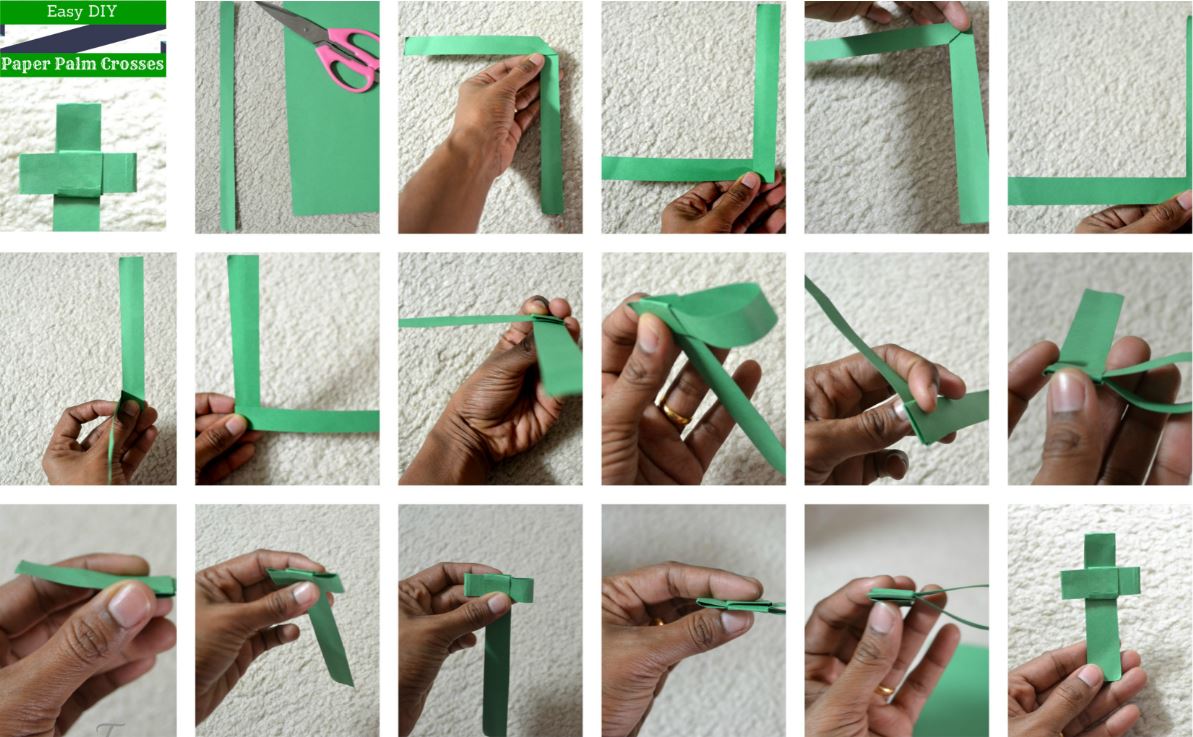
This tutorial is incredibly easy to follow. Just click on the tutorial collage to enlarge the pictorial instructions and then follow the steps outlined below.
How to make a palm cross for Palm Sunday
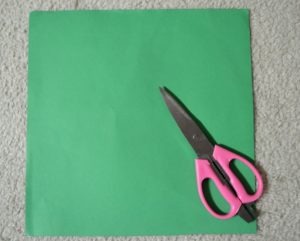
 These will make a fun craft to do with the kids at home on Palm Sunday. You really don’t need anything but green construction paper or light card stock, a pair of scissors and a ruler if you don’t trust your skills in cutting considerably even strips!
- Cut a long strip of card/craft paper, approximately 0.5-1″ in width and close to 12″ or more in length.
- Take the strip and fold it in the middle to form an inverted right angle/ an upside down L.
- Now take the vertical strip and fold that up.
- Turn that reverse L over to form a 7 and then fold the vertical end over again.
- Then take the horizontal end and fold it over.
- Now when you look in the back you will notice you have made a small square pocket of sorts.
- Take the horizontal arm and slide it through the pocket from the back, all the way to the end and gently tug at it to ensure it’s firm.
- Now slide half the horizontal end to form one arm of the cross.
- Take the other end and fold it in to form the second arm of the cross. (Make sure both arms are of equal length)
- Now turn the cross over and take the vertical end of the cross and gently slip it through the pocket slit from the back. Leave as much of it on top as you would like and adjust the remaining through the slit to form the foot of the cross.
- And there you have it, your paper Palm Cross is ready!

